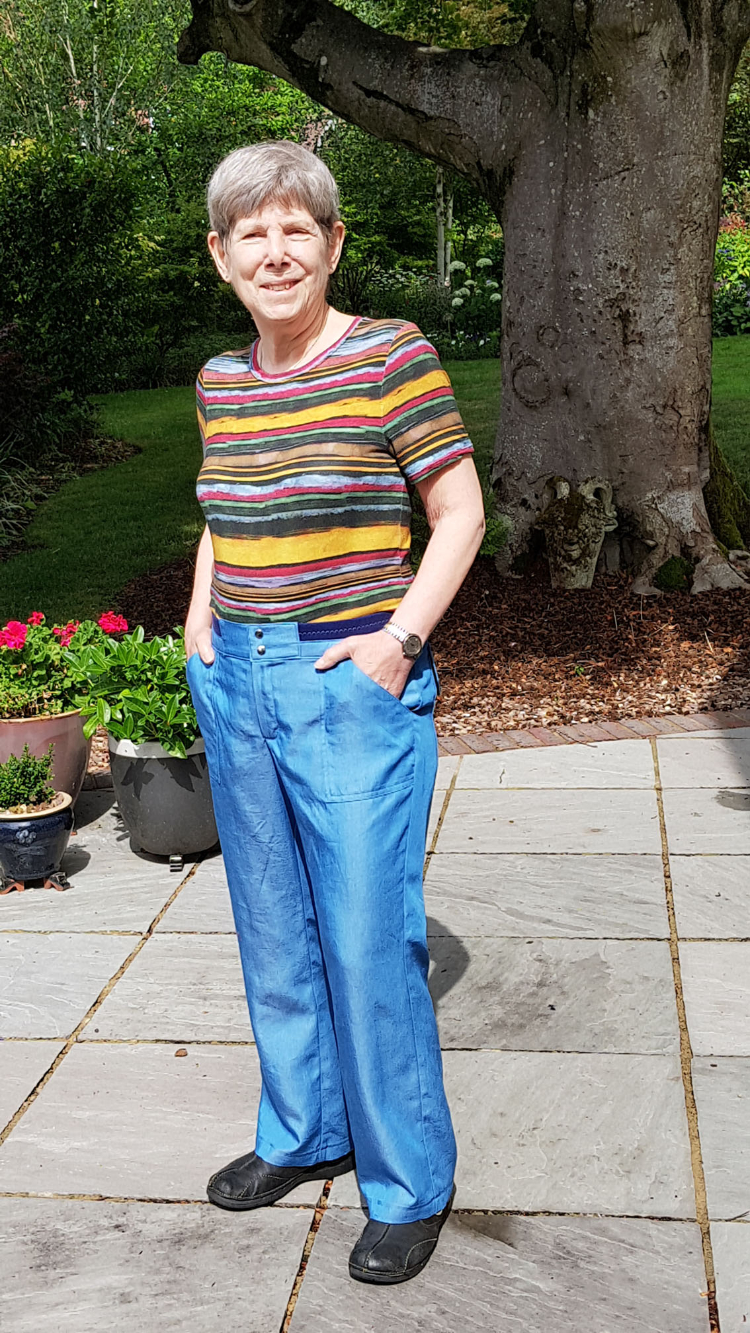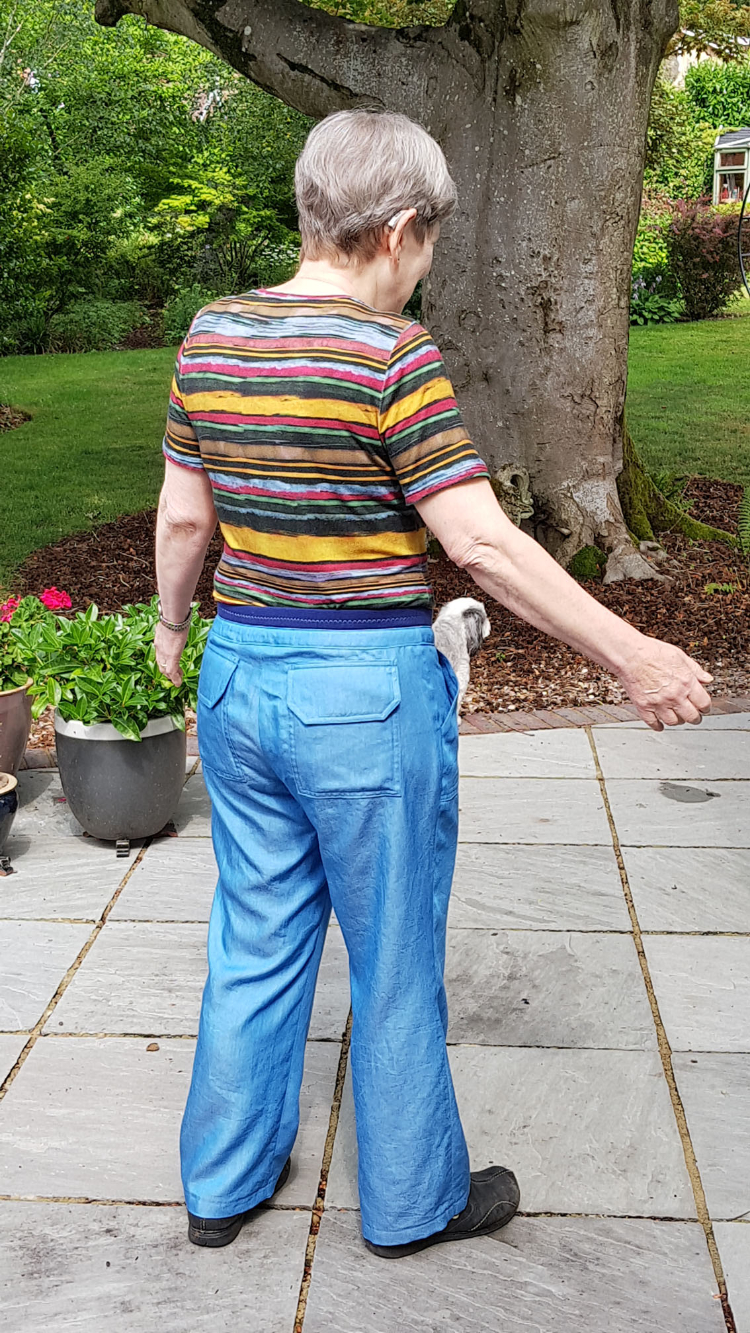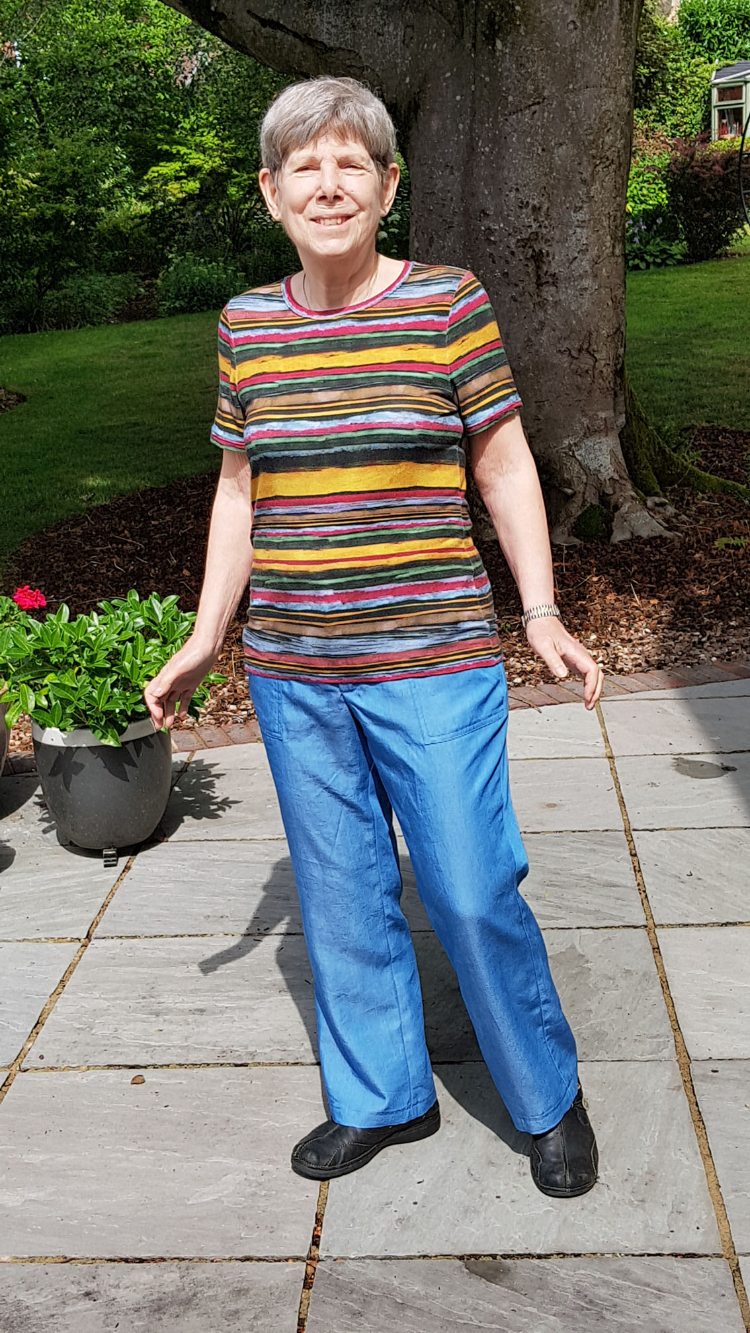
Sally made her tried and tested lark tee in super stretchy viscose jersey, and tencel and cotton denim cargo pants using the Itch to Stitch Sequoia Cargo pattern
Bonus points to Sally for an excellent evaluation of these trousers:
Now – what did I think about the Itch-to-Stitch cargoes? I previously made a dress from them (Oia pattern) for my sister-in-law, which was fabulous. The pattern was very well designed and the instructions were so good that even this very beginner sewer succeeded. So I had high hopes for the Sequoia Cargoes. But in all honesty I am slightly disappointed. Why?
Sizing. Based on her chart I’m half way between a 6 and 8 based on hip and a size 10 for waist. Two toiles later, I wound up cutting the pattern halfway between a 6 and 8 for everything except for the waist which I actually graded DOWN to a size 6. Very illogical. The overall fit works fairly well on me – better than any other trouser patterns I have tried. I generally have to modify the crotch pattern based on a pair of RTW jeans that I like the fit of.
The instructions have some anomalies. The zip insertion is strange.
With a 1″ wide zip, the second stitch line would be on the very edge of the zipper tape. And anyway, why would you want the first stitch line/fold not closer to the teeth? I emailed Kerris at Itch-to-Stitch to question this instruction. She didn’t really understand the problem and advsed me to follow her instructions for putting a zip in jeans. I had already put the zip in my toile using my tried and test jeans zipper insertion method. It worked fine, but created a problem later with the sizing of the left and right waist band pieces. So I cut those pattern pieces larger in order to make it all come together right.
The Waistband is ribbing folded around a 1″ elastic. Following this instruction results in the seam joining the waistband intersecting the zig zag stitch. So half the zig zag is visible in the waistband. Again I asked Kerris about this and she pointed out it was a basting stitch and therefore gets removed. But it is not really feasible to remove this zig zag stitch when it is run through with a seaming stitch. So I did the zig zag higher up the waist band. After I inserted the waistband I decided I liked the look of the zig zag running through the middle of the ribbing so I left it in as a design feature.
Finishing the seam allowances: Given my choice of fabric (very prone to fraying) I struggled. I don’t have an overlocker – would love one but just don’t have the space to set it up. So I zig zagged the seam allowances. Not a great finish. Be interesting to see how they wash up.
Overall impressions of the look: I didn’t include the side pockets or the leg straps. I also didn’t put poppers on the back pocket flaps as I felt they were too heavy for the fabric. I wanted a wider leg but find the legs a bit wider than I would have liked. And I think the back pocket flaps are too large. I think a heavier fabric would better suit this pattern. Perhaps even something with some stretch. Will I make another pair? Probably not.
Thank you Sally!


